Tools required:
A text editor such as MS Notepad.
A graphics program such as PhotoShop, Gimp (free) or Paint.Net (free)
Bohemian Interactive's BI Tools 2.5 (free)
01
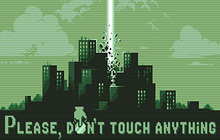
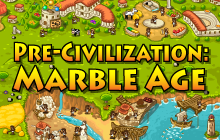
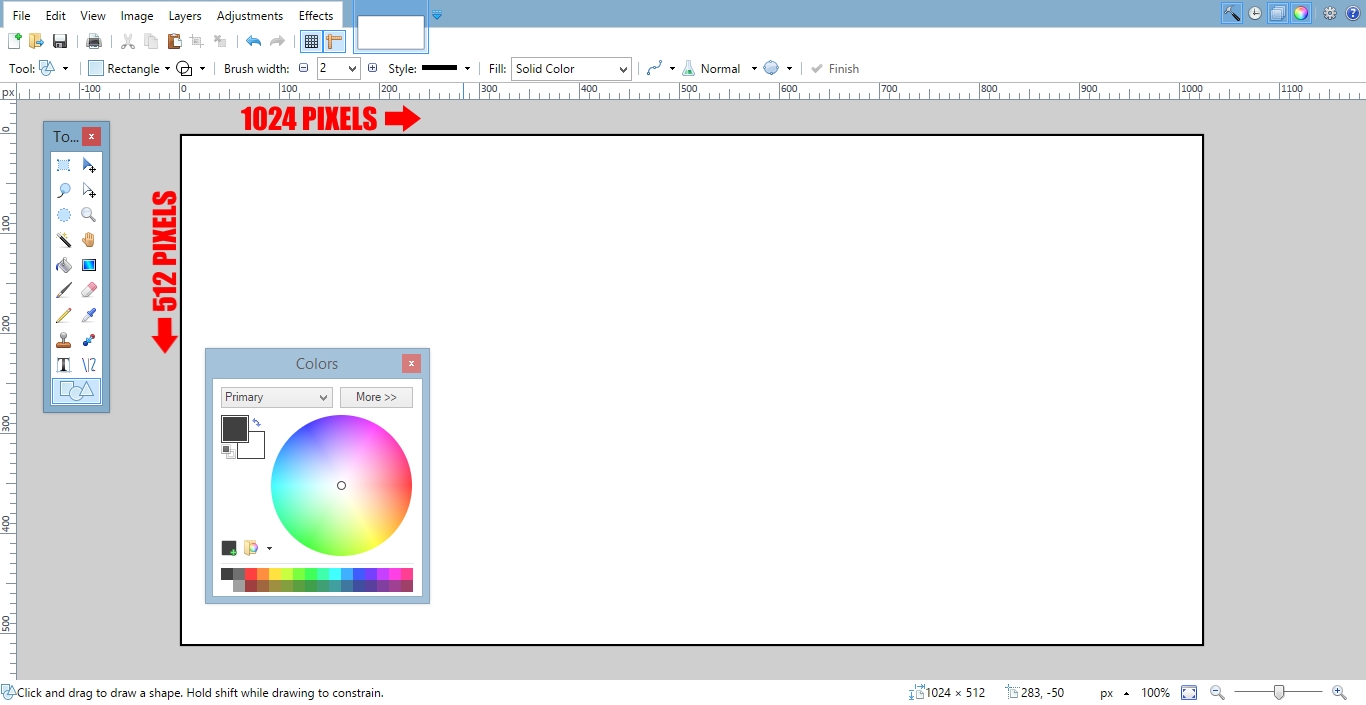
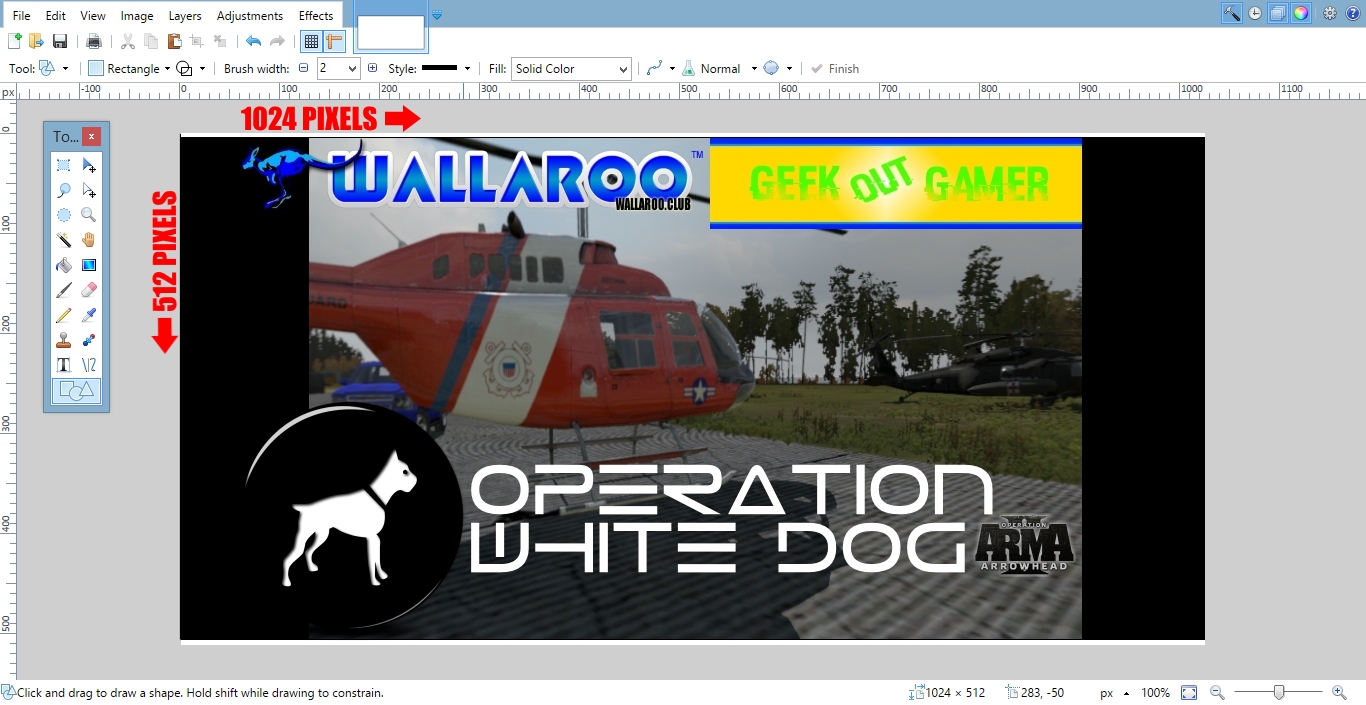
Begin by opening up your graphics software. Create a 1024px x 512px canvas: This is the recommended size for an ArmA splash screen.
02
Complete your splash screen artwork and save the finished product in your preferred format (.jpg, .png, .tga)
03
 Download and install Bohemian Interactive's BI Tools 2.5. There are several programs included and the installer will ask you to confirm the installation path to each as it works.
Follow this path and open 'TexView2': C:\Program Files (x86)\Bohemia Interactive\Tools

04
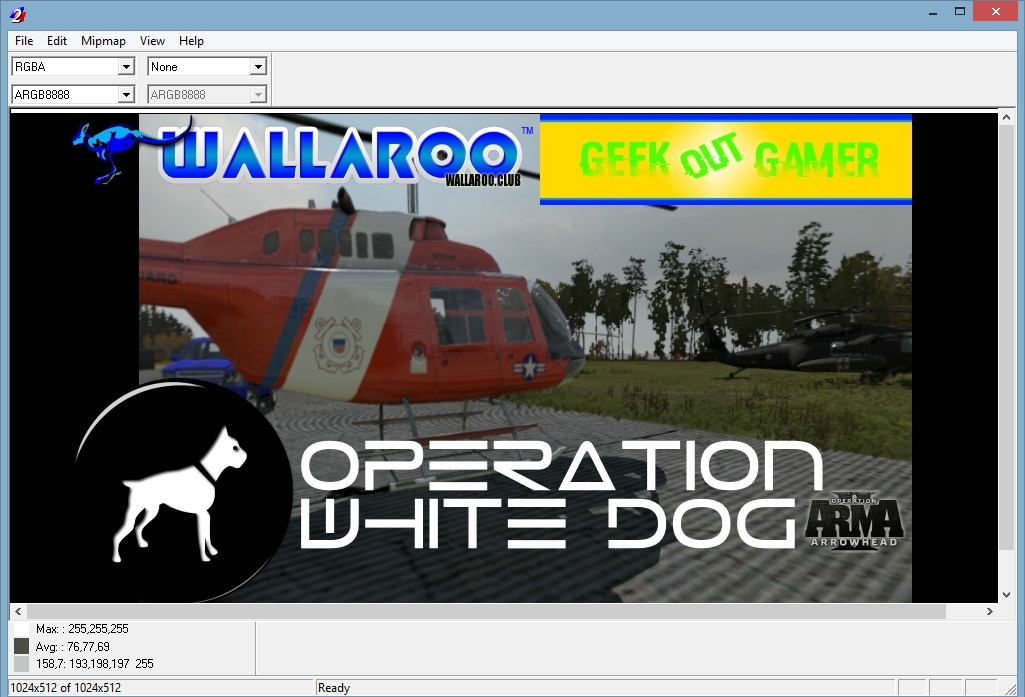
Open up your image file in 'TexView2' and then save it as a .paa file.
05
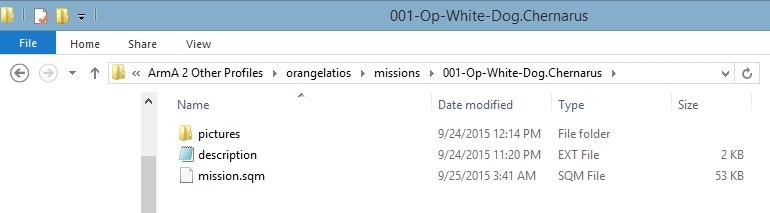
Navigate to the folder where the mission you created is stored. Do not look in your SteamApps folder: This is not the correct Missions folder. You will find it under the main ArmA 2 directory or (if you have two or more game profiles) under 'ArmA 2 Other Profiles'.
WRONG C:\Program Files (x86)\Steam\SteamApps\common\Arma 2 Operation Arrowhead\Missions
RIGHT C:\Users\User\Documents\ArmA 2\missions
RIGHT C:\Users\User\Documents\ArmA 2 Other Profiles\[YOUR-NAME]\missions
Create a new folder titled 'pictures' in your mission folder. Drop your new splash page .paa image into it.
06
Open up your text editor and place this line of code into it:
loadScreen = "pictures\name-of-splash-screen-image.paa";
Save the text file as description.ext and place it into the mission folder. If you are using MS Notepad you will need to change
the file type to 'All Files' in order to save it with the file extension .ext.

07
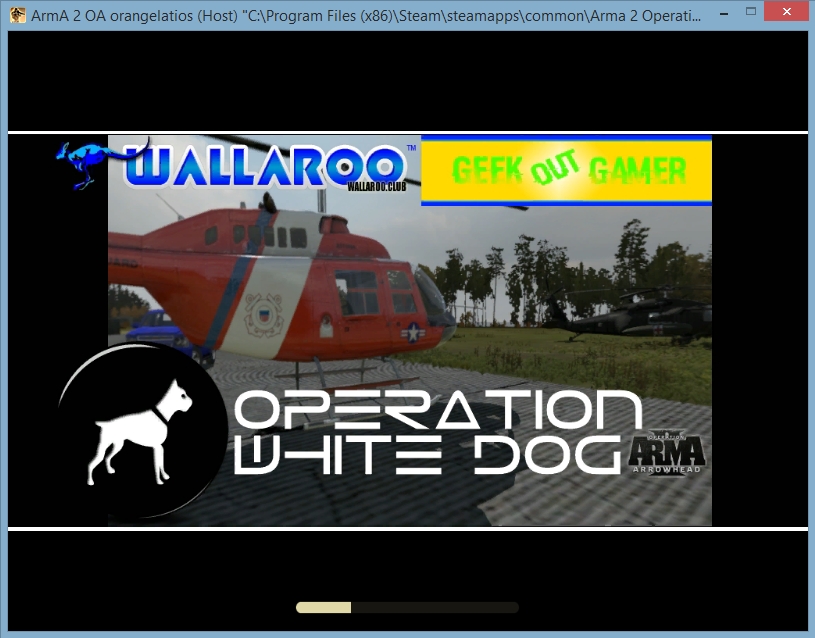
Launch Arma 2 and then open up your mission in either the Editor or Multiplayer. You will now see your new splash screen displayed as your mission loads!
written by RJ Wattenhofer